The GoPro HERO5 and HERO6 are the current flagship action cameras in the market. While there are many knockoffs in the market, GoPro continues to have a strong brand presence as the premier action cam.
For a quick overview of the similarities and differences, both cameras capture 4K and have nearly identical external construction. The devil is in the details though and the HERO6, of course, edges out the spec sheet of the HERO5.
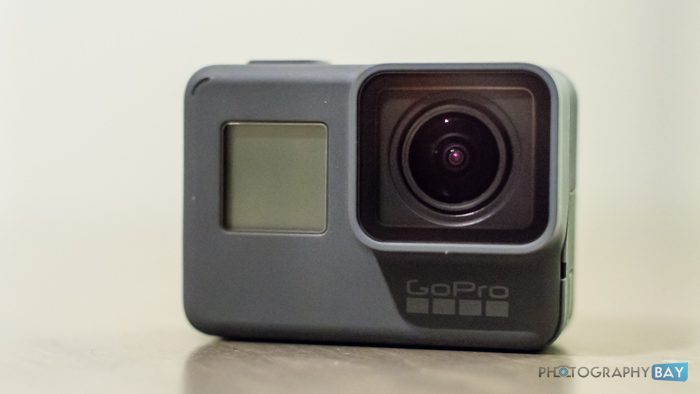
Both cameras feature a 12MP sensor for capturing still images in JPG and RAW formats. The HERO6 adds a more capable HDR mode than the HERO5.
On the video side, the HERO6 gives you 4K/60p/50p capture in H.265 (HERO5 offers up to 4K/30p in H.264) and 1080/240p (compared to the HERO5 at 1080/120p).
While I use a GoPro for videos on occasion, I probably get more use out of the built-in timelapse functions – especially since GoPro started building the LCD into the cameras with the HERO4 Silver. Of course, both the HERO5 and HERO6 have a great touchscreen setup with more intuitive control.
I find the LCD to be critical for my use of setting up a timelapse shoot. For one, it’s on the camera and I don’t have to fiddle with connecting my phone wirelessly through the GoPro app. Additionally, I save battery life by being able to leave the WiFi turned off. The built-in LCD is a standard feature now and is even included on the most recent reissue of the basic GoPro HERO.
In-Camera Timelapse Options
There are a couple different ways to capture timelapse images with the GoPro HERO5 and HERO6:
- You can capture individual sequential image files and assemble the timelapse in post production, or
- You can use the Timelapse Video feature and let the camera assemble the video file
There may be good reasons for choosing either method.
If you want to preserve maximum dymanic range or editing control of your photos. If that’s the case, you can shoot still images and edit them after the fact in Lightroom or another photo editing app.
However, if you just want a nice, clean video ready to show with little post production work, using the Timelapse Video feature makes a lot of sense. The HERO5 and HERO6 can output up to 4K resolution when using Timelapse Video. As you can imagine, this is the simplest way to get started with shooting timelapses on your GoPro.
In order to get the right look and feel for your timelapse, you need to determine the appropriate interval for the sense of time you want to communicate in the assembled video. The available intervals for the HERO5 and HERO6 are 0.5, 1, 2, 5, 10, 30, and 60 seconds. A shorter interval produces a slower sense of movement (i.e., less motion occurs between each frame), while a longer interval creates a greater sense of speed and covers a greater distance (i.e., more motion occurs between each frame).
When time is of the essence (no pun intended), you also need to consider how much footage you need to capture in the time available. A single second of video is typically 24 frames or 30 frames. So, at 0.5 second intervals, it will take 12 seconds to capture 1 second of footage. At 1 second, it will take 24 seconds to capture 1 second of footage. And so on.
Individual Image Timelapse Workflow
Timelapse Video is pretty self-explanatory; however, the workflow for shooting, managing and assembling individual images from a timelapse sequence can get cumbersome rather quick if you don’t have a plan going into it. What I’m sharing here is my workflow for timelapse sequences. This is what I use for GoPro and any other cameras when shooting timelaspe sequences. This is not the only way to do it and this may even be a little outdated but this is what has worked for me for several years.
Step 1. Import the images to Lightroom.
Step 2. Edit the first image in the sequence.
Step 3. Select remaining images in the sequence and copy the edit from the first image to the remaining images. (You can either crop to 16:9 here or you can keep a different aspect ratio and crop in your video software.) You can use “Sync Settings” in the Library Panel or “Sync…” in the Develop Panel to achieve this.
Step 4. Export all images to desired .jpeg resolution. Export to a single folder. Under “File Naming” choose “Custom Name – Sequence.” This produces a batch of photos with names like “Waterfall A – 1, Waterfall A – 2, . . . Waterfall A – 1299.”
Step 5. Using Quicktime 7 Pro (if you have it or can find it since it is discontinued – see alternate options below), choose File > Open Image Sequence…, then select the first photo from the sequence you exported in Step 4. Click Open and set your desired frame rate (usually 29.97 or 24.976). Choose View > Fit to Screen if the resolution is too high to see the entire player.
Step 6. Choose File > Export…
Step 7. In the Export menu, select “Move to Quicktime Movie.” You can click the Options dialog to customize your compression algorithm, frame rate and dimensions, among other settings. However, you are likely going to stick to a 4K or HD resolution and ProRes 422 (recommended) or H.264 compression.
Step 8. After Quicktime 7 Pro (or whichever program you’re using) finishes exporting, you can then import your video file to the editing application of your choice to finish your timelapse film with grading or futher cutting.
Additional Timelapse Software Options
I just recently learned that Apple appears to have completely discontinued Quicktime 7 Pro. While I still have a use the program, it’s not available for new users to go and download. Accordingly, I’ve listed what appears to be some of the more popular timelapse assembly options below.
Affordable Motion Timelapse Tools
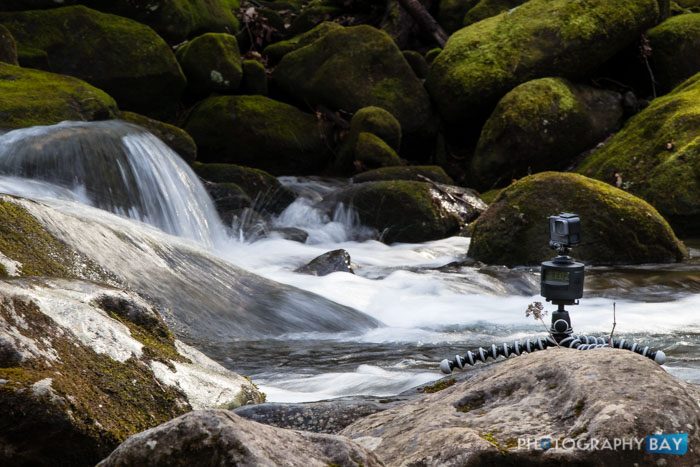
While a static camera shooting a timelapse sequence can result in some beautiful imagery, adding motion to the camera can create a truly high-end appearance to your timelapse.
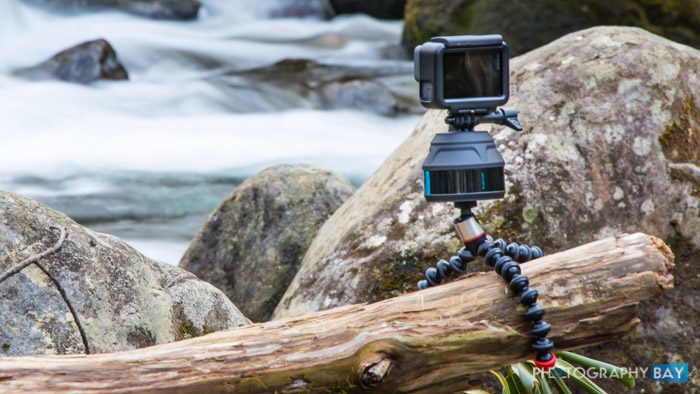
Previously, I reviewed the Syrp Genie. It is an awesome tool for timelapse photography. At $600, however, it’s not quite in everyone’s budget – especially with a low-end GoPro camera. Below, I’ve selected and tested 3 different tools that are capable of putting some motion in your timelapse shoots and are lightweight/compact, making them easy to carry with your GoPro kit.
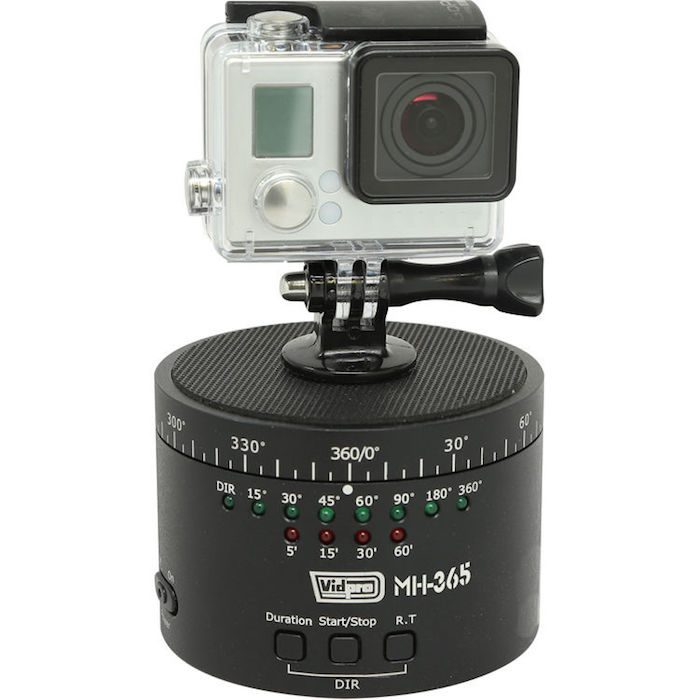
Vidpro MH-365
The Vidpro MH-365 is a customizable timelapse pan head. It has a built-in rechargeable battery that has an 8 hour charge time and a run time of 6 hours when the load capacity is 1 kg (about 2.2 lbs). It’s made for small cameras up to 2 kg (about 4.4 lbs) and ships with a smartphone holder, GoPro base and a micro-USB charging cable.
The Vidpro has an adjustable rotation angle from 15° to 360° and can be adjusted over time spans of 5, 15, 30 and 60 minutes. It can also be adjusted to rotate in either direction. The Vidpro can be mounted on a tripod with a standard 1/4″-20 or 3/8″ receptacle on the bottom.
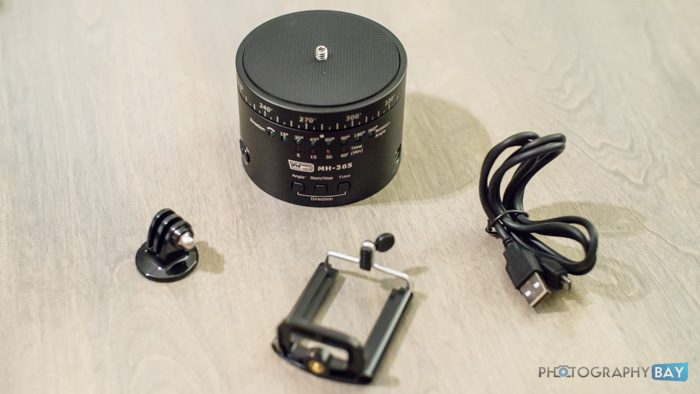
This is more of a premium model for a basic timelapse pan head. The customization of rotation angle, direction and time span adds to the flexibility of this unit. While I only used it for GoPro cameras, you can use smaller mirrorless and DSLR kits up to 4.4lbs.
In my tests, it performed admirably and was the clear winner in terms of total performance. At $99 or less (depending on the sale), I think it’s quite the bargain. Check it out here at B&H Photo.
TurnsPro
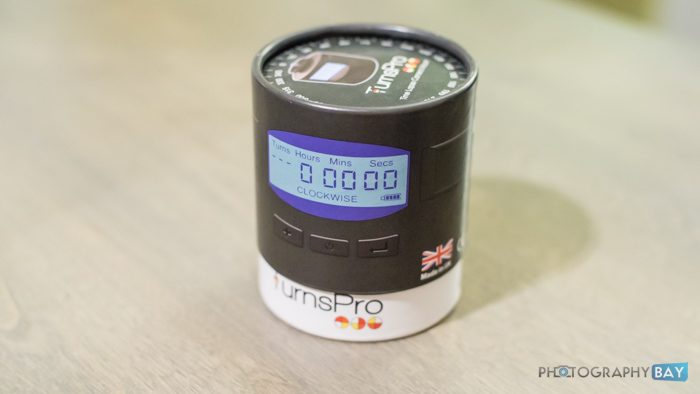
The TurnsPro is a lightweight timelapse pan head that has a max load capacity of 1 kg when mounted upright and only 1/4 kg when mounted horizontally. It ships with a dedicated smartphone mount but no other mounts. It has a standard 1/4″-20 screw on top has a standard 1/4″-20 mount on the bottom for attaching to a tripod or head.
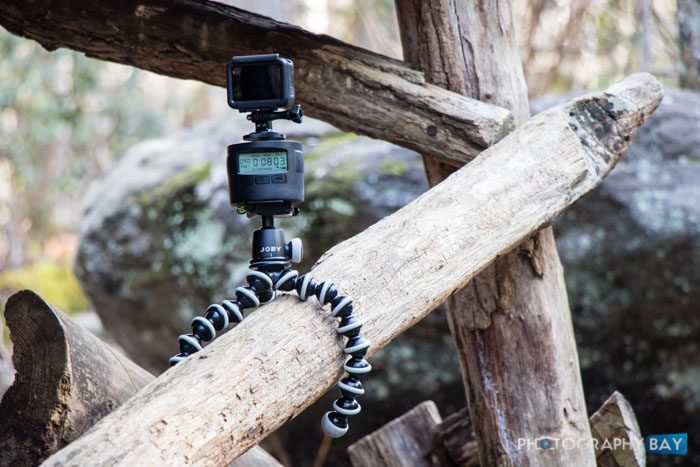
It is powered by 4 AA batteries and the positive and negative marks are incorrect on the housing but it’s easy enough to see which should be which. The plastic housing feels a little cheap – like a cheap Chinese knockoff product.
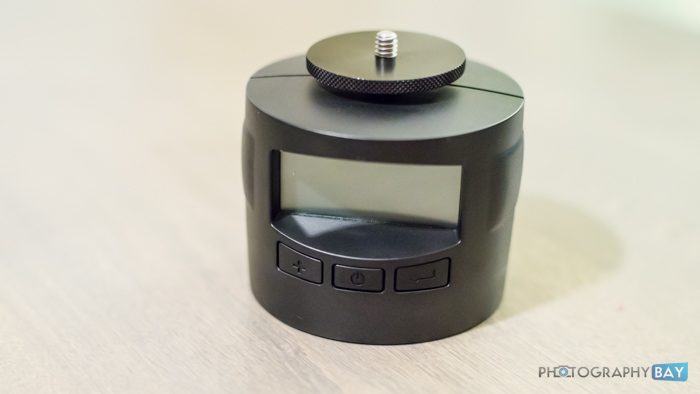
In use though, the TurnsPro works fine. It’s not quite as polished as the VidPro MH-365 but has plenty of customization and can support cameras up to 2.2lbs. At $99, I feel that it is a bit overpriced. However, the readily-available AA battery power is a bonus if you are away from home and are going to be shooting for an extended period of time. Depending on your plans and setup, this could be the difference maker in choosing it over the VidPro. Check out the TurnsPro here at B&H Photo.
GoPole Scenelapse
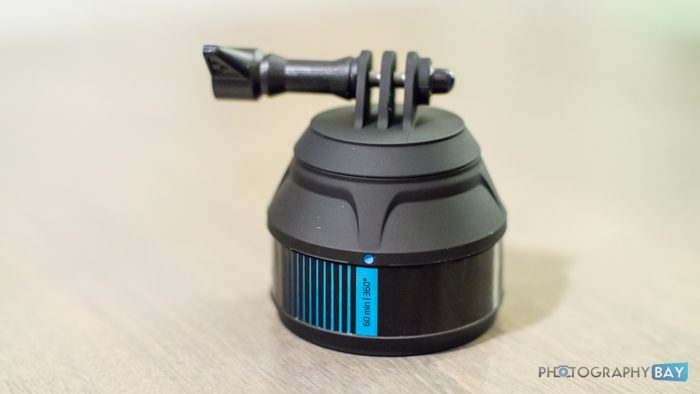
The GoPole Scenelapse is the simplest of the timelapse accessories that I tested. It is essentially a converted egg timer with a GoPro mount on top. There are no batteries and no settings to adjust. Just rotate the timer to the desired pan amount and duration.
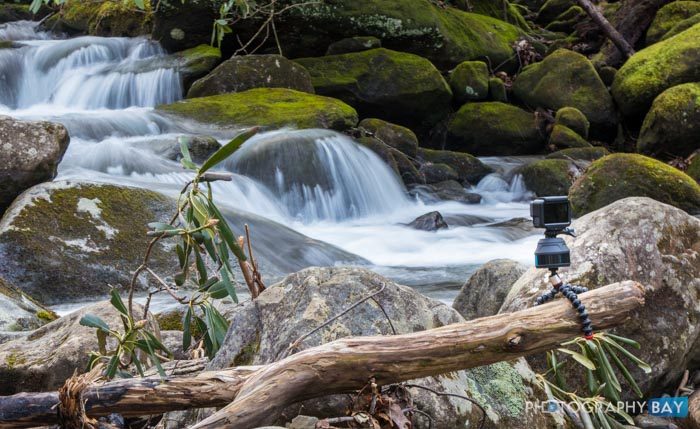
The speed is locked as follows:
- 90° over 15 minutes
- 180° over 30 minutes
- 270° over 45 minutes
- 360° over 60 minutes
The GoPole Scenelapse pans from right to left, which may be too limiting of a factor for serious use. However, it is effective enough and adding motion to your timelapse sequences that the low price of $35 may be too easy to pass adding this to your kit.
The one big advantage of the GoPole Scenelapse is the build. It’s so basic and has no electronics that you don’t really have to worry about breaking it. Setup is quick and easy. You can even leave it attached to your GoPro as you shoot other scenes since it is light enough. You can find the GoPole Scenelapse here at B&H Photo.
Wrapping Up GoPro Timelapse
The great thing about working with timelapse on a GoPro is that it doesn’t necessarily have to be super professional. I’ve used a GoPro for a fun Christmas morning timelapse or to do a quick capture at the beach. Mixing these sequences into an otherwise ordinary family video can add a lot to it. And, if you want a sequence that’s ready to go, just use the Timelapse Video setting on your GoPro.
For the more casual user, the $35 GoPole Scenelapse is a nice no-fuss option – even with the limitations mentioned above. If you want the most flexibility without getting into a more exepensive product range (like the Syrp Genie), then the Vidpro MH-365 is a solid choice.
I’d love to hear more from you guys about what’s makes GoPro timelapse videos work for you. Chime in the comments below with your best tips and recommended gear.
