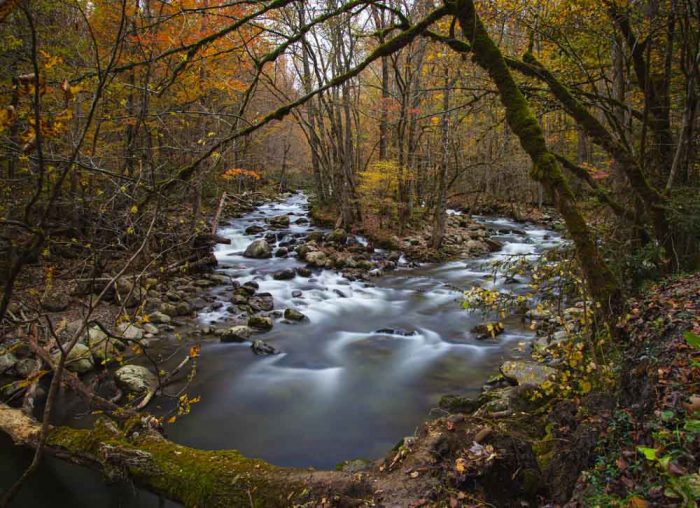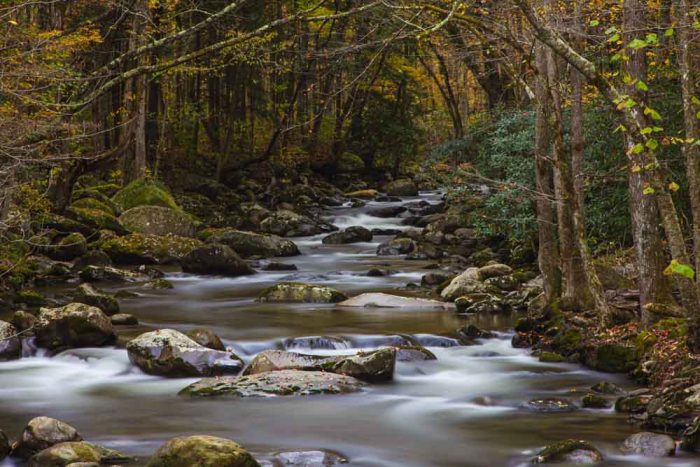
I love the long-exposure look and feel of moving water in a mountain stream. It’s a look that adds a somewhat soothing vibe to a nature image and it’s hard to get that just straight out of the box camera. In this article, I’m going to show you how I make this effect happen with a relatively simple and affordable addition to my camera kit.
What is a Neutral-Density Filter?
A Neutral-Density filter (or ND filter) is a piece of glass that most commonly goes in front of your camera lens by screwing the filter onto the lens filter ring. However, there are also square filters that can be part of a mounting system, as well as inserts into the lens bodies (aka, a drop-in filter), and even built-in filters that are part of a camera’s body (most commonly in professional video cameras). For the sake of this article, we’re talking only about the screw-on type of filter that fastens onto the end of your lens.
An ND filter reduces the amount of light that enters the lens without drastically altering the color (hence, the “neutral” part of it).
There are a few different notations on ND filters that indicate how they affect light. You’ll commonly see references like ND8, 0.9 ND filter, or 3-stop ND filter. They all tell the same story about the ND filter. The ND8 and the 0.9 numbers get into the math behind the light entering the lens. This article is not about those equations. The number we need to care about is the 3-stop reference, which helps us quickly figure out how this helps our image exposure.
A 1-stop ND filter will cut the light entering the lens by half. A 2-stop ND filter will cut the light by half again (so 25% of the light with no ND filter). These x-stop ND filters commonly go down to 10-stop versions – at which point you’re down to 0.1% of the light entering the lens if there was no ND filter in place.
Using ND Filters for Smooth Water Motion
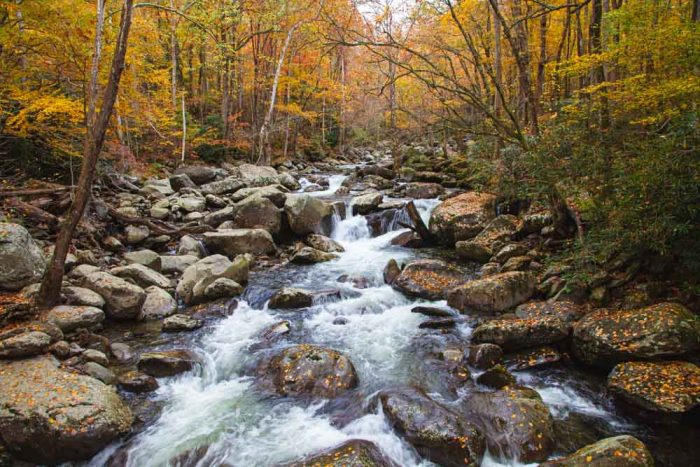
Shot at 1/20s with no filter.
I live near the Great Smoky Mountains National Park and really enjoy photographing mountain streams in the area, which is what motivated this post. To get a nice, smooth image of flowing water, you really have to have a long exposure time, which means you need a slow shutter speed.
On a bright day, it’s unlikely I’ll find a spot where I can take slow shutter speed photos below 1/4 seconds. When I want to really smooth out the water flows to 5-30 second exposures, I really need an intense ND filter.
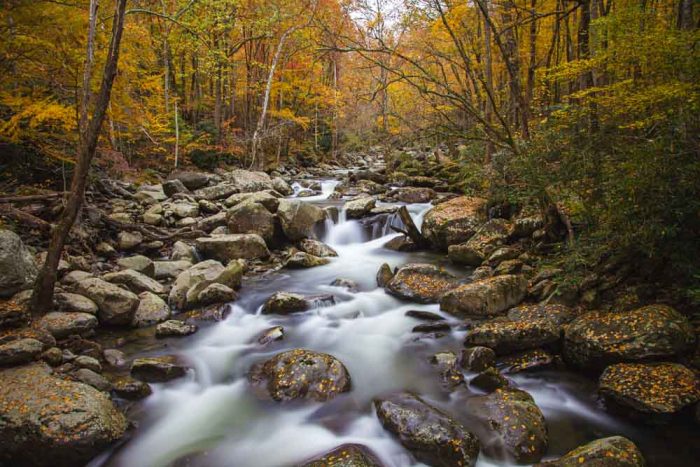
Shot at 30s with Hoya 9-stop ND filter.
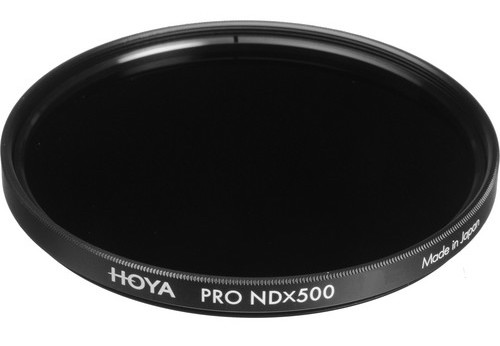
For these types of daytime scenes, I’ve got a Hoya 9-stop ND filter that I’ll attach to my trusty old Canon EF 24-105mm f/4L IS lens to really cut down on the exposure time. This gives me the ability to slow a shot from 1/15s down to 30-seconds, which can produce some pretty dramatic motion.
Depending on the time of day and how much shade you’re in, a 9-stop filter can provide some dramatically-long exposures. In the shots I took this afternoon, it was a pretty overcast day so I really wasn’t competing with the sun. The rest of my exposure info hung around f/10 and ISO 100 for most of the shots I took.
If the filter’s effect is too much, you may need a less extreme ND filter. (While a variable ND filter can help find the sweet spot a little easier, it can lead to image irregularities on wide-angle lenses.)
Because so much light is lost, there’s not much to see in the viewfinder or to focus with.
- So, set your camera on a tripod with no filter attached, then frame and focus your shot.
- If you’re using autofocus, turn AF off after you focus.
- Then, carefully attach the ND filter without touching the focus ring.
- Now, you can start shooting and reviewing your images post-capture for additional framing or aperture adjustments.
Of course, if you’re not using such an intense ND filter, the shooting process can be a little more normal.
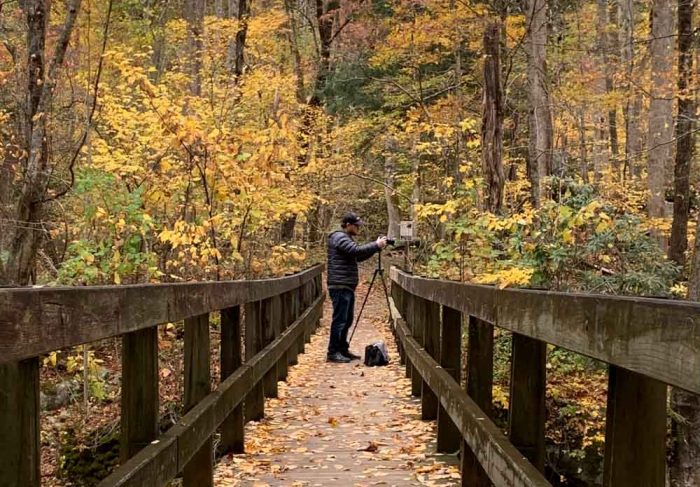
My wife was kind enough to grab an “action” shot of me as I wrestled with ND filters today.
While I’m all about mountain trails and rivers, ND filters work wonders in a variety of scenes, including the beach and surf. Whatever water is near you can surely be turned into some ethereal magic with ND filters and a bit of patience.
Additionally, if you’re looking to shoot longer than 30-second exposures, you’ll be best served by using a remote. The versatile Vello Shutterboss line of remotes is a good fit for extended exposure shooting, among the many other features it offers. I’ve got a short review on it here but I’ve used this remote for years and it has served me well.
It’s helpful to have a couple of options available to make your exposure just right. You can also stack filters to get cut more light than your most extreme filter can deliver. That said, be careful with stacking filters at wide angles because it can lead to vignetting (the corners of your frame will pick up the filter’s edge).
Which Filters to Buy?
As a general rule, I aim to fit the biggest filter ring in my camera kit. Currently, that’s a 77mm filter ring but 82mm is another common size for some of the higher quality lenses. Then, I’ll use a lens ring step-up kit to fit the smaller lens rings in my kit (again, watch out for vignetting). You can get a broad-range kit for pretty cheap, like this Sensei 77mm kit, which takes you all the way down to 46mm filter rings.
If you don’t want to stack all of those rings and you only have a couple of lenses to swap between, you can get direct step-up adapters, like this NiSi 77mm filter to 58mm lens ring adapter. This type of adapter helps reduce the risk of vignetting and makes sense if you only plan to use a couple of lenses with your ND filters.
As for the filters themselves, this Tiffen ND filter kit, which includes a 2, 3, and 4-stop ND filter, is a great starting point – and is available in virtually every common lens filter ring size. If you want to go big out of the gate, the Hoya ProND500 9-stop ND filter is great and pretty affordable. I have the prior generation and love it. Additionally, you can’t go wrong with B+W filters, so here’s the B+W XS-Pro 10-stop ND filter.
