My Vivitar camera backpack has way outlived its shelf life, with ripped dividers and nowhere near enough protection for my gear, and it was time for a replacement. Initial research showed that nearly any of the name brand offerings were out of reach, ranging from $130 for the Think Tank Retrospective Bags, to $300-400 for their rolling cases. While these products are worth every penny typically, my lean budget wasn’t going to accomodate it.
A Cheesycam article perked my interest in creating my own solution out of a padded divider from Calumet, along with a cheap rolling suitcase from a big box store, but those dividers are currently backordered. With the possibility of this sort of solution in mind, I set out to find something similar.
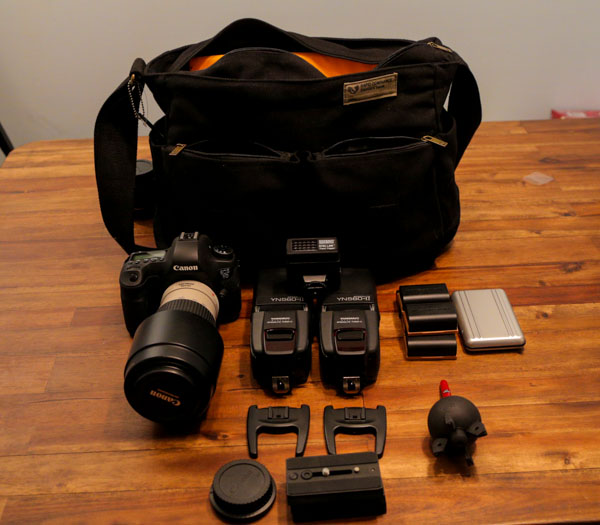
Knowing what you want out of your solution in always key when looking at cases and bags. I work in both video production and photography, but my kit is fairly light camera wise. Before you purchase, write out what will go in your bag. In my case…
- Canon 6D with 70-200f4 IS attached (my MarkIII stays on a Black Rapid Strap all day with my 24-105).
- 1-2 Speed Lights (Two Yongnuo YN-560 II‘s to be exact, and at $70 each, they’re an awesome value)
- A Canon 50 1.4
- Batteries/SD Cards/Lens Blower
- Possibly a Rode Video Mic Pro
- The ability to store my 5DMarkIII and 24-105 (separately), at the end of the day.
Here is a video with the complete rundown on the DIY bag, with the short-version highlights broken down in a couple paragraphs below the video.
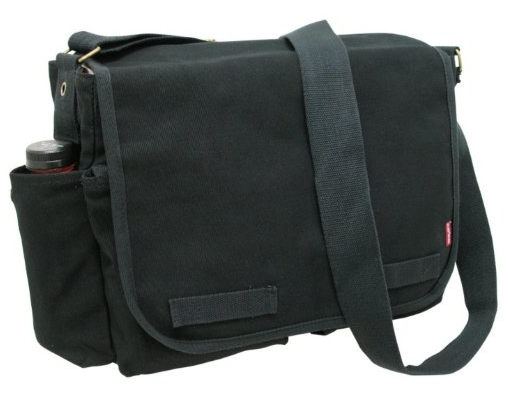
[vimeo https://vimeo.com/69199274 w=640&h=360]I’d been looking at the Retrospective 5/7 bag and some of the “Five Million Dollar” options, and I knew i wanted something portable that could stay on my person or be easily sat down throughout the day (for portrait and wedding shoots). So after a short search on Amazon, I came across the BBP DSLR Divider, and the Rapid Dominance Messenger Bag, and at just $30 each, I took the leap.

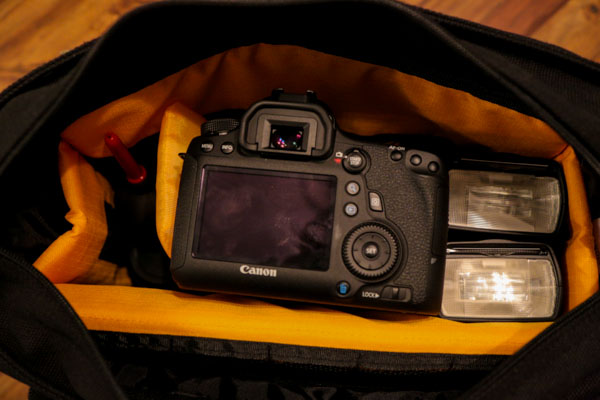
Once the gear had arrived, I knew I had my solution. They fit together well, with just the right amount of room to add some extra padding on the sides and bottom, and the zippered front pockets on the messenger bag easily handled all my extra bits and pieces such as batteries. But I also came across some cons…
The cover flap
The flap that covers the bag is massive, and it became evident right away I’d need to implement a fix. During the day, I’d have the bag open at my side, and I knew it’d look ridiculous hanging down to my knees. (I’m actually considering removing it all together.)
The Velcro
Not a big ordeal, but the flap does close via velcro, not a sound you want in the middle of a ceremony. But, there’s also a zipper that seals the department so you can leave the flap undone all day. I may potentially remove the flap all together.
The Strap
When something is on your shoulder for a majority of the day, you want to make sure you have the proper support and padding, and the strap on this bag doesn’t truly offer that. It’s not removable, but there are third party pads you could use for extra comfort. Don’t be concerned with the included strap not being durable, it’s sturdy and thick.
With that said, I still found a viable solution, and you can take this concept and tap into a wide variety of dividers, bags, and cases found online. I can’t complain at half the price of anything similar.


I love love love this post. I’m in the market for a bag, like to save money (after spending too much on white glass) and think the other options out there are a bit too feminine for me.