So you’ve got a fancy DSLR or mirrorless camera but it stays on full auto (aka the little green camera) or P on the mode dial (maybe because that lets you choose when to turn on the flash).
You stick with these modes because the camera makes most of the decisions for you and all you really have to think about is where to point the camera.
Neither of those modes are necessarily bad to use – especially if you are getting the photos you want. However, there are other things on the camera’s mode dial that allow you to be more creative.
And maybe you aren’t getting the shots you want but you don’t necessarily know how to turn the photo that is in your mind into reality. Maybe you just want to understand more about how your camera works.
Whatever the case, understanding the effect and usefulness of operating in the Aperture Priority mode is a worthwhile endeavor for any budding photographer.
Aperture Priority vs. Full Auto
If you didn’t already know, there are three elements that determine the exposure of a particular image: the lens aperture, the shutter speed and ISO (or sensitivity of the image sensor or film). If you are not familiar with these three elements and how they affect exposure, I encourage you to read the following articles before moving forward.
As I have written about before, Full Auto mode locks everything down so that the camera makes all of the decisions concerning exposure, including flash operation.
Using Program mode, gives you control over some elements of the exposure and allows you to use the very handy exposure compensation feature on your camera. However, even in Program mode, the camera determines the aperture, shutter speed and ISO values based on how it meters the scene. Although, you do have the ability in most cameras to designate the ISO value and, of course, with film, your ISO value is based on the roll of film inside your camera.
Setting your camera’s mode dial to Aperture Priority allows you to define a specific aperture value of your lens and force the camera to automatically adjust shutter speed and, if you so choose, the ISO value.
Creative Control of Aperture
So why would you want to set a specific aperture value?
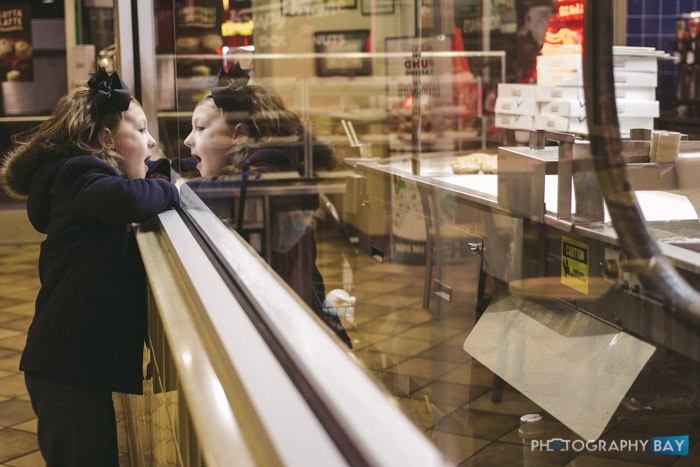
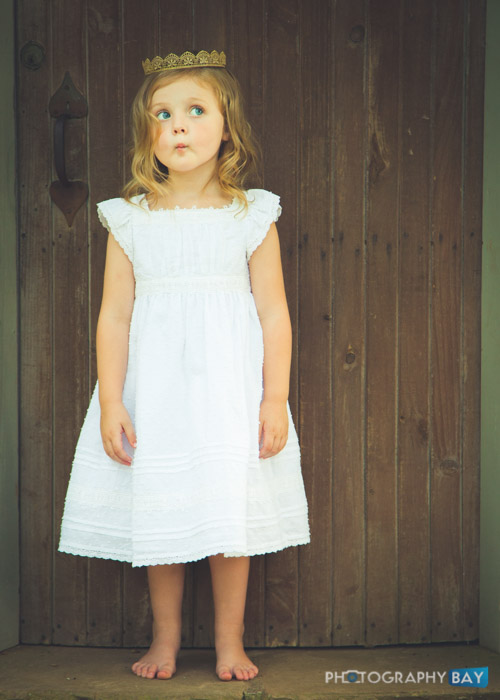
One of the most common reasons is to create a smooth blurred background. The effect is called bokeh.
The blurred background you see in many professional portraits is created by selecting a large aperture, which is designated by a low f/ number on your lens or in your camera menu. Again, if you need help understanding this, read the Photography Basics article on lens speed and aperture.
On the opposite end of the spectrum, forcing the camera to use a small aperture (higher value f/ number), delivers more depth of field so there is more of your image that appears sharp. This is why those gorgeous landscape images appear sharp from the foreground to the background. The photographer has selected a smaller aperture like f/11 or f/16 or smaller to show off all of the elements of the scene.
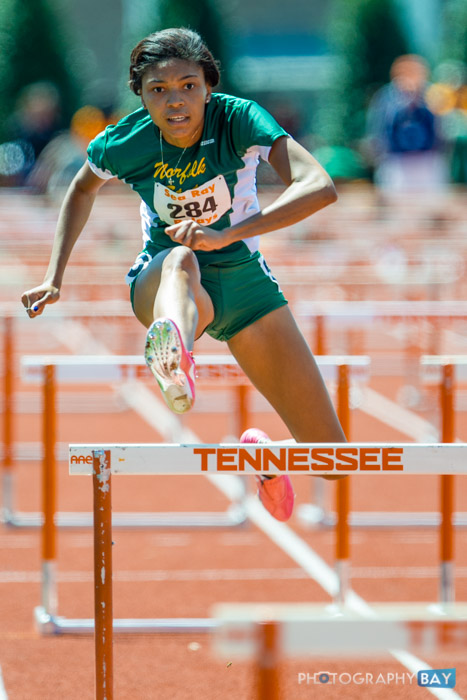
Another reason (aside from controlling the depth of field) that you might want to consider using the Aperture Priority mode is to force the camera to use the fastest shutter speed possible for a balanced exposure.
What does that mean?
Let’s say you are shooting a kids’ soccer match with your DSLR and fancy new 70-200mm f/4 lens and your camera automatically selects f/8 and 1/250s for your aperture and shutter values, respectively. The images aren’t as sharp as you’d like because the kids are moving so fast (i.e., their motion is blurred in the images).
If you move your mode dial to Aperture Priority and select f/4 as your aperture value, the camera will automatically select the fastest shutter speed that your camera and lens combo is capable of. In the above example, it would push your shutter speed to an action-stopping 1/1000s – exactly what you need for freezing motion in a kids’ soccer match.
In the above example, even if the lighting conditions changed – based on the sun, clouds or artificial lighting – you’re camera would still give you the fastest shutter speed with a good exposure.
One final example of a reason to choose Aperture Priority is when you want to easily mix flash with ambient light. Because the short duration of the flash from a camera speedlight (it can be as short as 1/25,000s), the shutter speed has little to do with how the flash affects the exposure. What matters most is the aperture value, which means you can select a fast aperture (like f/2.8) and let the camera pick whatever shutter speed and get great, balanced photos with flash and ambient lighting.
That is a little bit of an oversimplification of using Aperture Priority to control flash and ambient lighting but it will hopefully serve well enough as an example for now.
Where I Use Aperture Priority Mode
I use Aperture Priority mode for most snapshot images with my family, on vacation and the like. I like the pop that a shallow depth of field provides with my snapshots. The bokeh in snapshots captured wide open or close to wide open apertures adds a hint of elegance that you don’t quite capture at smaller aperture settings. And often in a low light snapshot, I will just open the lens all the up to the max aperture to help out with getting optimal shutter speed and ISO settings. Then I take the best that the camera can get me.

I sometimes use Aperture Priority mode for portraits when I am not dealing with changing light or backlit situations that would throw the camera’s metering off the actual scene that I care about.

The same also applies to fast-moving sports venues. Again, if that lighting is changing a little but there is not a direct backlight or vast changes that push my exposure out of range of shutter speeds that I want, then Aperture Priority can work well.

I will also use Aperture Priority as a gauge to find a starting point of a venue sometimes. In low light situations, I will generally shoot a lens wide open or very close to wide open (e.g., setting an aperture of f/2.8 on a 70-200mm f/2.8 lens). Once I have a range of exposure values provided to me by the camera’s metering system, I will switch over to Manual mode and use the shutter speed and ISO settings in the range of what the camera defined and adjust to my own eye and taste.
Wrapping Up Aperture Priority Mode
Aperture Priority mode is a very flexible mode in which to operate. I hope my highlighted aspects of using the mode has demonstrated that to you.
If you understand what the camera does in Aperture Priority mode, and more importantly, why it does those things, you can move closer toward mastering your camera’s controls. Then, you will be able to concentrate on the task of making a great photograph instead of trying to understand your camera.


Another important reason for using A mode is to select the aperture which delivers the best image quality. This is mostly one or two stops down from the open aperture
Thanks Eric. I am almost 78 and have taken photos since about 9 or 10. Our early black and white films in the camera of the time, taught us heaps about focus, shutter speeds, and f-stops. Then we gradually got into colour prints, then slides etc, then digital. I’ve always been a Nikon photographer and now use a D-610. I thank you for your information, although we all went through that stage, you are always learning. We never need to know about having to use a variable ISO. It was either ASA 125, or slower, then 200 and 400 then higher, but once the film was loaded, that was it, you were stuck with that speed. So digital gives us so much more control over the variables, OR we can if we want, just leave it to the camera, and any errors can mostly be corrected in post processing. I love it! Thanks for your info. on your regular emails, it as very much appreciated. Best regards, Lawrence Taylor