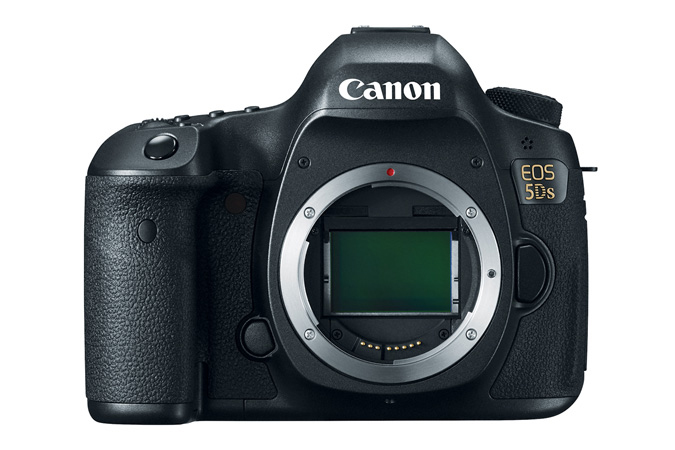
The past two releases of Canon professional DSLRs show that Canon has finally come around to the notion that its customers who pay thousands of dollars for a camera think an intervalometer should be built-in. The Canon 7D Mark II along with the 5DS and 5DS R cameras are the first Canon DSLRs to offer a built-in intervalometer. With these new models, it is now possible to shoot interval images for time lapse sequences without the need for the overpriced Canon TC-80N3.
Note, however, that shooting still images with the built-in intervalometer is different than shooting in Time-lapse movie mode on the 5DS and 5DS R.
Notably, the new 5DS models are the first Canon DSLRs to include the Time-lapse movie mode, which is offered in addition to the intervalometer. I have already seen several blogs and websites with misinformation regarding how each feature works or combining them into one feature. They are very different in the end results – even if the set-up process is similar.
Intervalometer and Time-lapse Movie Mode are Very Different
The still image intervalometer settings are found in the main camera tab under the 4th tab icon (same as the 7D Mark II) and called “Interval timer.” The Time-lapse movie mode is found under the 5th tab icon.
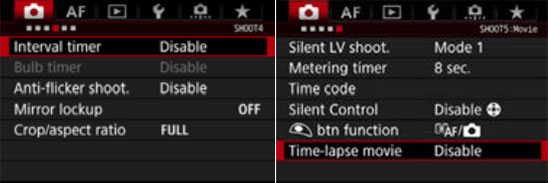
Canon 5DS Interval Timer (left) and Time-lapse Movie Mode (right) Menu Options
Sequences captured using the still image intervalometer can be shot as raw images up to the max 50.6MP resolution, which you can then process heavily with great results in the raw image editor of your choosing and export a sequence in a video editor at any frame rate you choose.
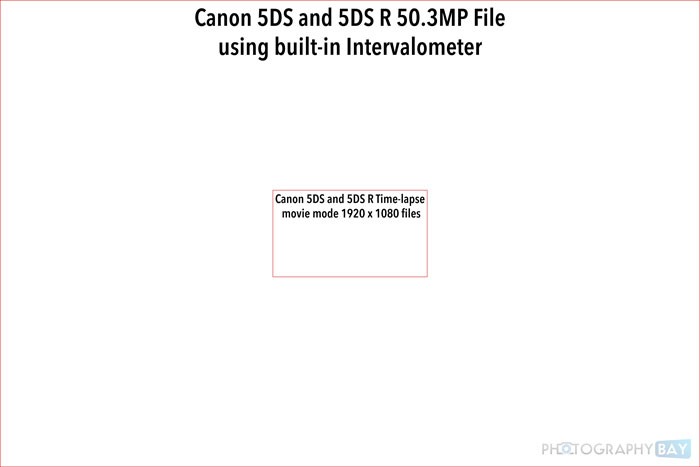
However, sequences captured using the Time-lapse movie mode will be recorded at 1080p resolution using the ALL-I codec at 29.97 fps (NTSC) or 25 fps (PAL) and processed entirely in-camera. These will be highly compressed with much less latitude than the still image option. The file resolution differences are astounding at 50MP versus 2MP.
Also note that the number of images captured in a sequence ranges from 2 to 3600 when in Time-lapse movie mode. When assembled in-camera at 29.97 fps, this results in a time lapse sequence of about 2 minutes.
When shooting still images with the intervalometer, you can capture an unlimited number of images in a sequence.
If you are serious about your time lapse sequence, then you will certainly want to use the still image intervalometer. In addition to the flexibility of the raw file format, the 50MP resolution gives you a ton of opportunities for reframing or panning the frame.
In movie resolution terms, you are looking at 8.6K resolution compared to sub-2K resolution. It looks like this:
When would you use the Time-lapse movie mode? If you were doing a behind-the-scenes or some other casual scene where resolution and image quality are not necessarily paramount and you don’t need to deal with time lapse assembly in post production.
As noted earlier, the built-in still image intervalometer is the same as found in the Canon 7D Mark II. In fact, the features are identical (other than the resulting 50MP file from the 5DS models). The menu locations are identical, except the Canon 5DS models don’t have the “Red-eye reduction” option above the Interval timer in the menu.
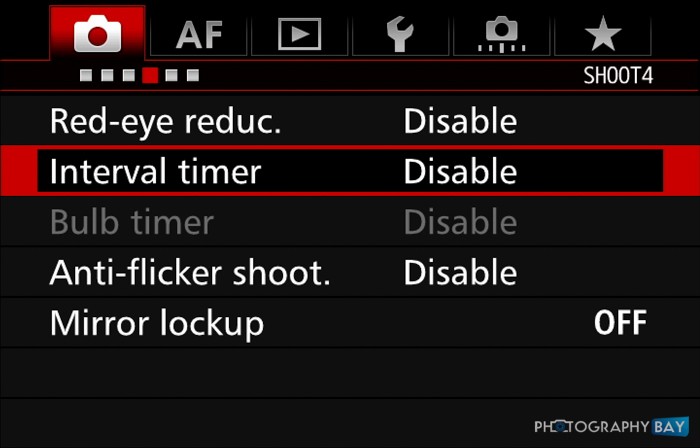
7D Mark II Interval Timer Menu
Interval Timer Shooting Setup
Let’s now walk through the process of how to shoot a time lapse using the built-in intervalometer on the Canon EOS 5DS and 5DS R.
- Press the menu button and use the scroll wheel to move to the main camera tab.
- Move to the 4th sub-menu tab of the main camera tab
- Select Interval timer (the first option in the 4th sub-menu tab)
- Select Enable and the press the Info button on the back of the 5DS
- Set the interval time frame (how much time will pass between each shot) up to 99 hours, 59 minutes, 59 seconds
- Set the number of shots to 00 (if you choose 1 to 99, your time lapse sequence will be very short); selecting 00 makes the number of shots unlimited
- Select OK
- Press the shutter and your interval timer will begin shooting with your chosen settings
- When you are finished, if interval time frame is greater than 5 seconds, go to menu and select Disable interval timer. Otherwise, switch camera off. Wait for card to finish writing data before opening memory card door.
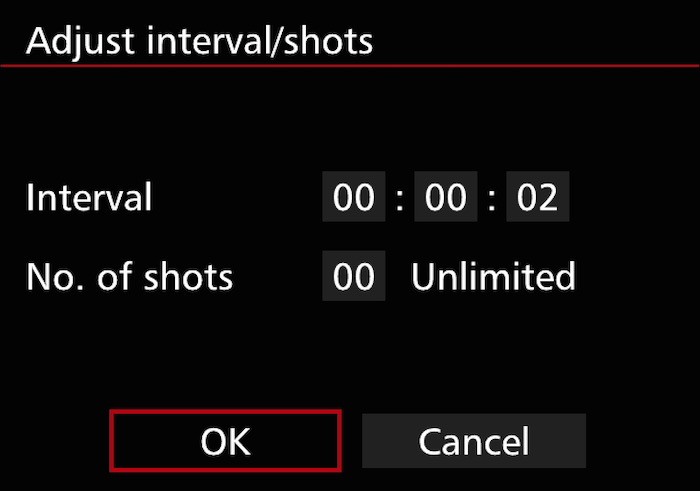
Also note that if your intervals are shorter than 5 seconds, you will not see an image preview on the back of the LCD screen between each capture – even if you have image preview enabled on your camera. Planning ahead for exposure and variations of exposure during the time lapse sequences will be even more important if you are shooting at short intervals.
You can also follow this video I made that shows the in-camera menu setup for the 7D Mark II to walk you through the same process in the Canon 5DS and 5DS R.
The Canon EOS 5DS and 5DS R ship in June 2015 for $$3699 and $3899, respectively. Check them out here at B&H Photo.
