When printing in Lightroom it can sometimes be frustrating to locate and correctly set the various options for printing. Borderless printing can be especially sneaky. So here are 7 steps to getting borderless prints out of Lightroom.
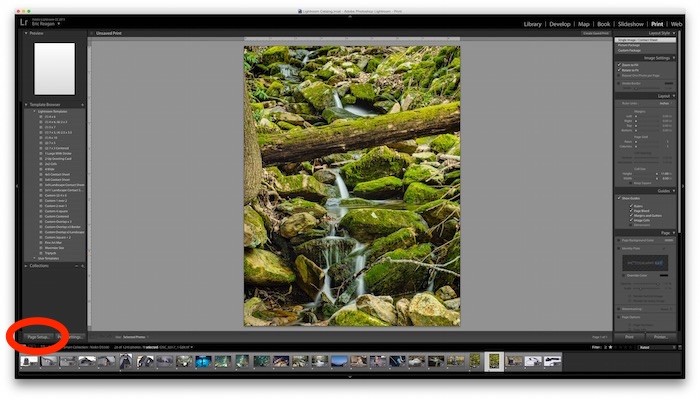
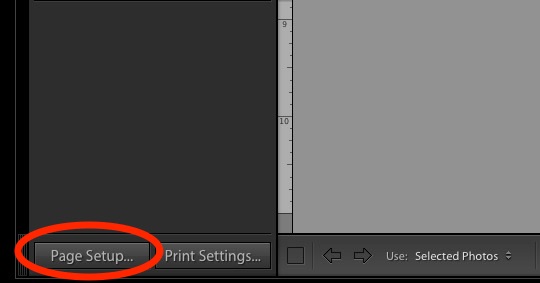
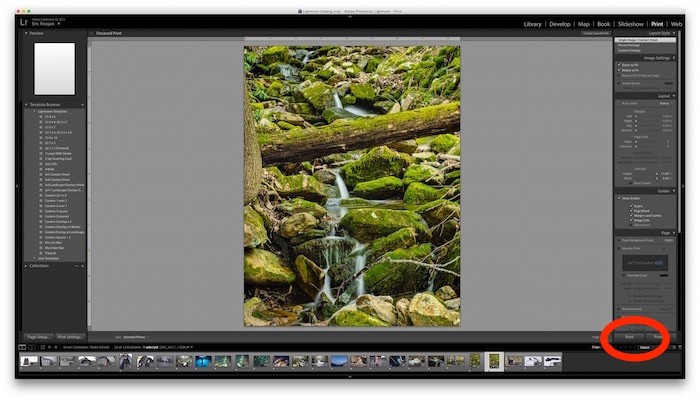
1. Click Page Setup… in the bottom-right corner while in the Print module inside Lightroom.
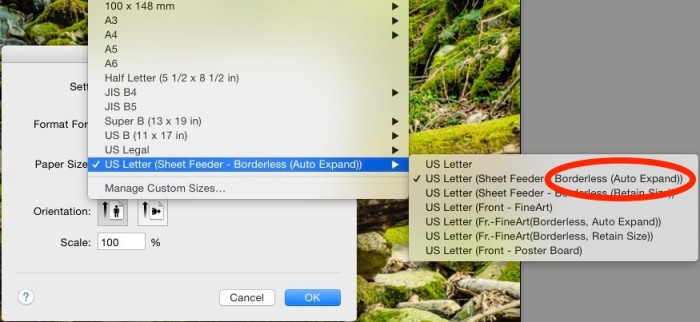
2. Once inside the Page Setup menu box, select the dropdown box for Paper Size.
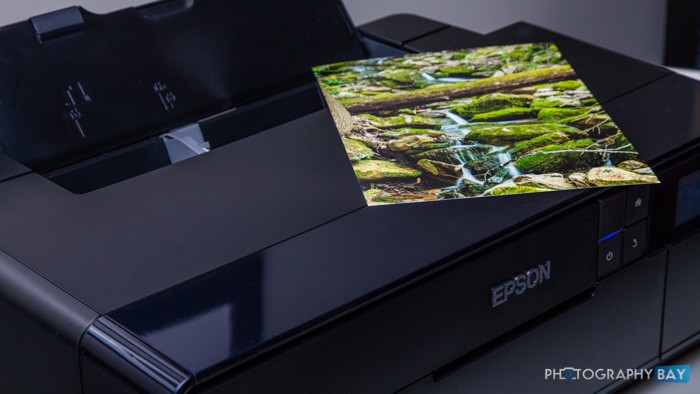
In the dropdown box for Paper Size, there are several paper types with pop-out options that have “Borderless” options within. Of course, make sure you’ve got the right printer selected as well. I’m using the Epson SureColor P600 for this print, but it could be anything.
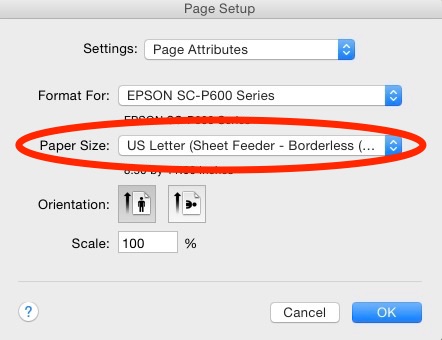
3. Select the appropriate Borderless option for your paper size. Pay attention to the variety of paper options and make sure you select the Borderless option.
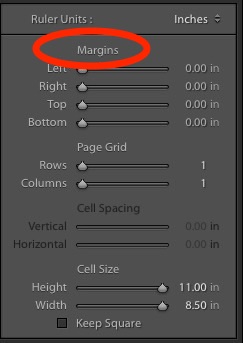
4. In the Layout panel, change your “Margins” to zero (i.e., move the sliders all the way to the left).
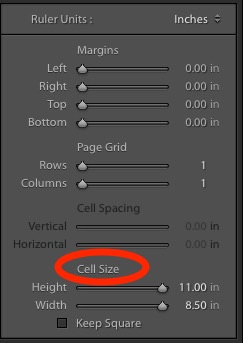
5. In the Layout panel, change your “Cell Size” to the maximum size for your paper type (i.e., move the sliders all the way to the right).
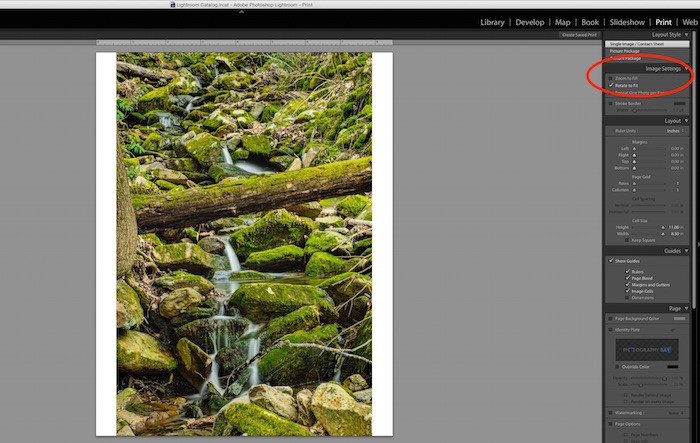
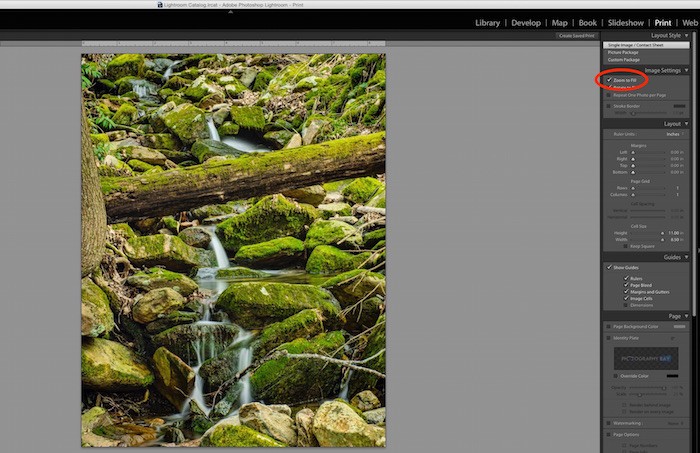
6. If there is still a small white border on either side of you image select Zoom to Fill inside the Image Settings panel, which is in the top right of the Print module.

7. Click Print.
That’s it. You should get a clean borderless print straight out of Lightroom.


BOOM! Zoom to fill- that’s what I was missing and the borders were making me INSANE. Thank you so much!
When I go into paper size, I do not get a “borderless” option. Why is that?
On my printer it didn’t have a border-less option for the paper size, however, there is a boarder-less option you can check which has the same affect.
from LR, select “Page Set-up” (like in the article), then “Properties” (for your selected printer, which is a Canon I suspect), then in the “Additional Features” section you should see the check box called “Boarderless Printing”. Select this, read and accept your warning (that you may print off the paper) and then continue with the above article and youll be fine.
At least it worked for me. Thank you.
Thanks for chiming in Melski.
Thanks for these instructions! They are very helpful!
That there are so many steps required for a simple procedure such as “Print a borderless photo” is quite infuriating.
Possibly even more so is discovering that after clicking “Printer…” and then clicking “OK” on the Print Options dialogue, it starts printing (This is not standard behaviour).
Is there a way to have lightroom or photoshop just “stretch to fit” rather than Zoom? Zoom to fit/fill just crops off part of the photo. Trying to something that seems so every day and simple! I’ve honestly spent many hours googling and it seems it cannot be done. BTW i have an Epson Stylus Pro 4800 and i cannot see the paper options you demonstrated above (i just have a4, a3, letter etc, no (borderless options)