Monitor calibration is one of the necessary evils that photographers must learn to cope with now that every image we create must pass through our computer in this digital age. Fortunately, there are some pretty handy tools to take on that challenge.
Datacolor is one of the industry leaders in the monitor calibration market and the new Spyder5 tool makes it painless for the most part.
There are actually three different iterations of the Spyder5 monitor calibration tools – Spyder5EXPRESS, Spyder5PRO and Spyder5ELITE, which cover the most basic calibrations to the most advanced, respectively. This review covers my experience with the Spyder5ELITE.
In Spyder5ELITE package, you get:
- Spyder5 colorimeter
- Software serial number
- Welcome card with software download link and warranty registration
- Reusable storage box
Spyder5ELITE offers advanced calibration features for setting gamma, white point and gray balance on your displays – including projectors. Both the ELITE and PRO models also feature an ambient light sensor, which takes into account your room lighting for a more consistent viewing experience.
I use a 2013 iMac with a 27″ 2.5K display and a HP ZR2740w 27? IPS display (also 2.5K resolution) in my office. With a two monitor setup, it’s important that the calibration and brightness of the displays are close enough so that it’s not distracting during daily use. It’s also important that the software and calibration tool understand the separate monitor profiles and can consistently identify the correct monitor during each subsequent recalibration.
The Spyder5ELITE checked all these boxes for me. Setup and use was overall a painless process.
When you open the Spyder5ELITE software for the first time, you get a welcome screen with four steps to confirm before you start your calibration.
- Warm up
- Lighting conditions
- Display controls
- Spyder connection
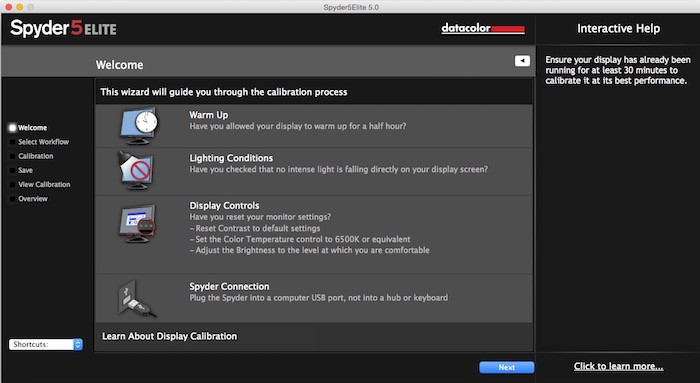
Your display should be running for at least 30 minutes before starting. You should have no direct light falling on your display. You need to reset your monitor settings to the default settings. Finally, you need to plug the Spyder5ELITE into your computer’s USB port.
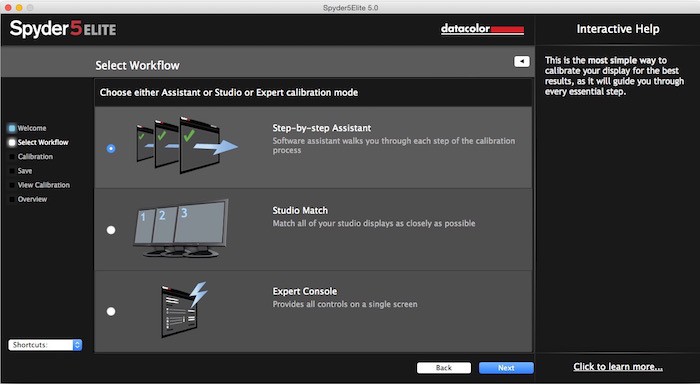
After confirming these four prerequisites, you can choose whether to follow the Step-by-step Assistant, StudioMatch or Expert Console modes to calibrate your display. Notably, StudioMatch allows you to match all of your studio displays as closely as possible.
Unless you are matching multiple displays, choosing the Step-by-step Assistant to walk you through a Full Calibration makes the most sense for most users. On subsequent uses, you can choose a ReCAL or CheckCAL to either recalibrate or check the display’s calibration. You can also choose your gamma, white point and brightness settings. Unless you have a specific reason for doing so, the default settings will most likely give you the best results.
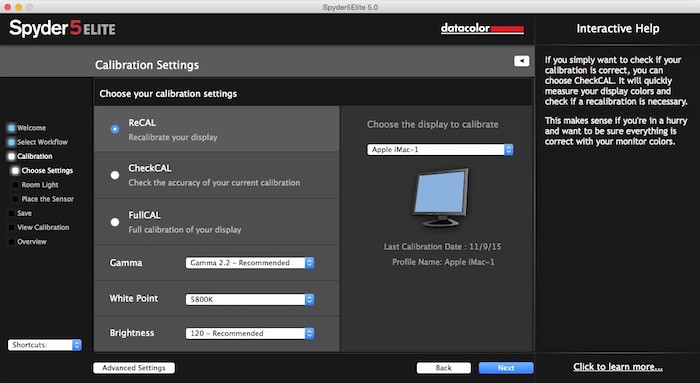
After choosing your calibration settings, you set the Spyder5ELITE hardware on your desktop and allow it to read the room lighting.
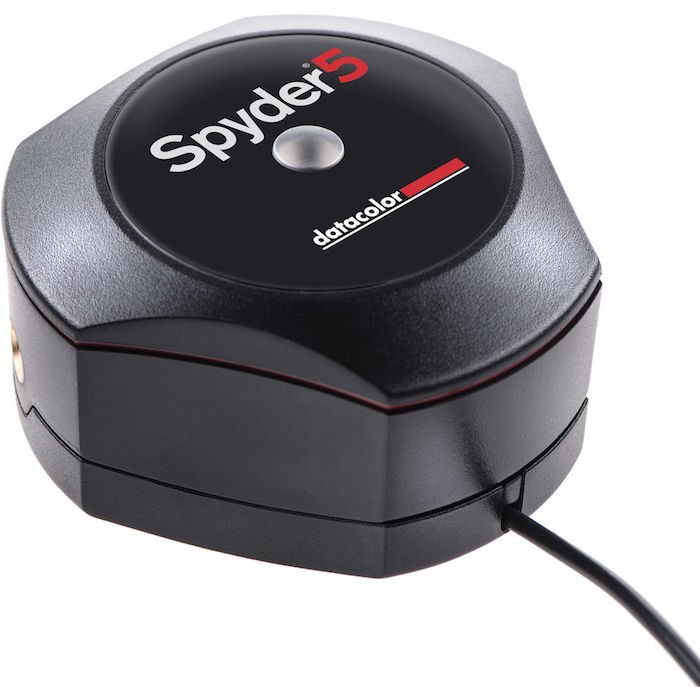
You then continue by placing the sensor on your display. It must lay flat on the display, which you can tweak by tilting your display upward and moving the attached counterweight down the USB cable to hang off the back of your monitor.
The software then runs through its calibration process and will show you a before and after view of a standard set of images. The Spyder5ELITE actually allows you to bring in your own images for a custom option to view with the calibration process (the PRO and EXPRESS versions don’t offer this feature).
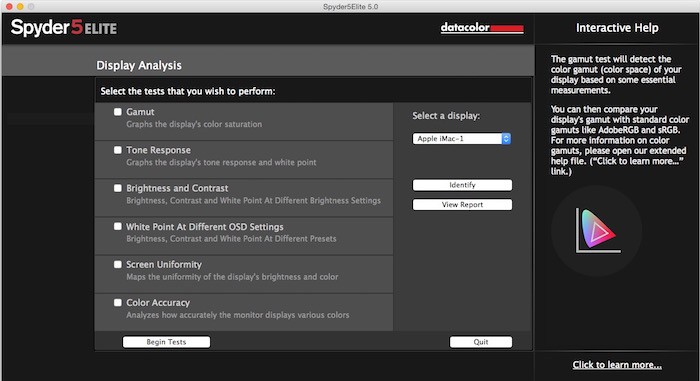
You can also perform a variety of display analysis tests using the Spyder5ELITE. These tests allow you to see the strengths and weaknesses of your monitors based on a number of variables.
After you have calibrated your displays for the first time, the software will remind you after a month to do a recalibration. I found that both my displays were slightly off after a little more than a month. The recalibration was just a few mouse clicks and waiting a few minutes for it to cycle through the recalibration.
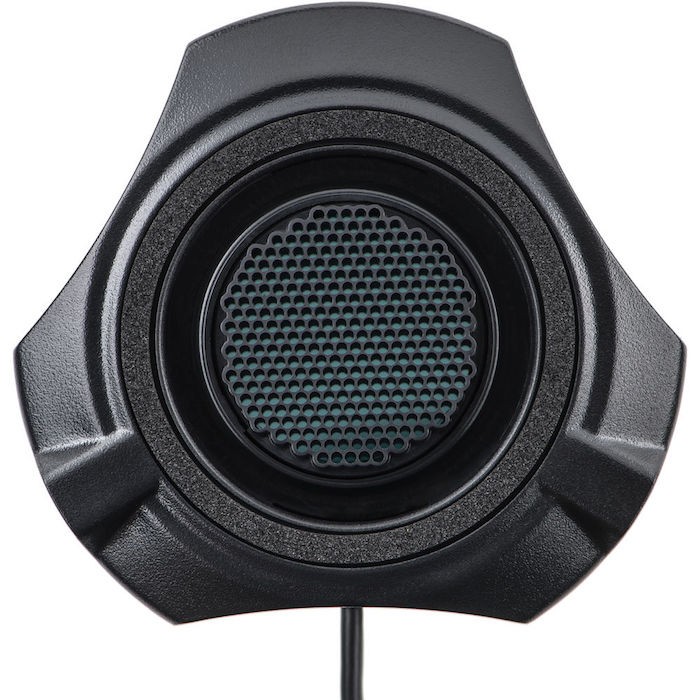
The Spyder5ELITE is a serious and effective calibration tool. It is the tip of the spear in desktop monitor calibration.
I am very impressed with the consistent look of both my displays and I find the calibration process with the Spyder5ELITE to be straightforward and worthwhile.
There are a lot of ways to get sidetracked with variables in the process but if you stick with the basics until you know something isn’t working for you, then it is a fairly simple operation.
Other than the custom image viewing option in the ELITE version, the Spyder5PRO probably makes more sense for most photographers. If you know you need the ELITE option, then you know you need it. If you’re not sure, the PRO version is probably what you should buy.
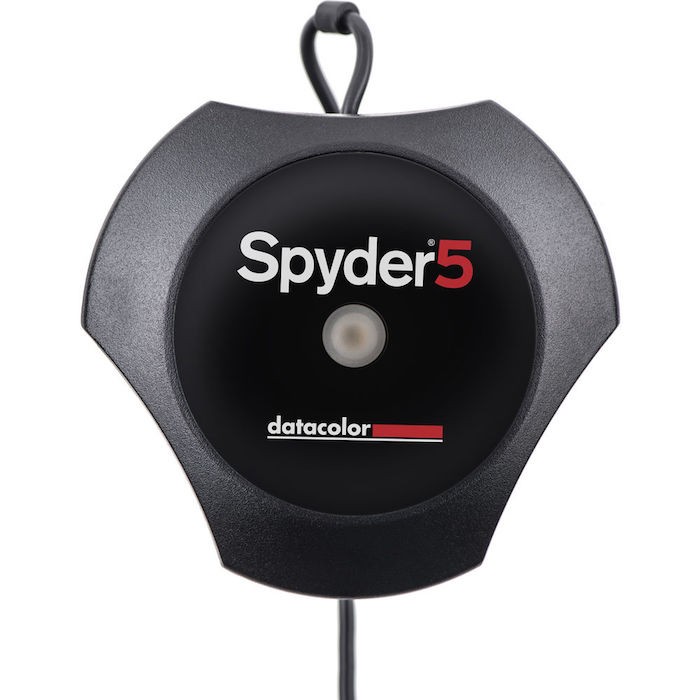
The Spyder5ELITE is an outstanding product that delivers the expected performance, which makes it easy to give a high recommendation.
The Spyder5ELITE is available from Photography Bay’s trusted retail partner, B&H Photo, at the following link:
Also see the Spyder5PRO and Spyder5EXPRESS.
By making your photography purchases at B&H Photo through these links, you are helping Photography Bay to continue bring quality camera tests, news and reviews. Thanks for your continued support.


Of course, you need to review this model, the day after I proudly come home from a trade show with the 5Pro.
I hope it works just as well.
:0
I think you’ll be in good shape. I didn’t go in depth into all of the detailed options because, honestly, much of it was over my head. I think the PRO would probably be a better fit for me as well.