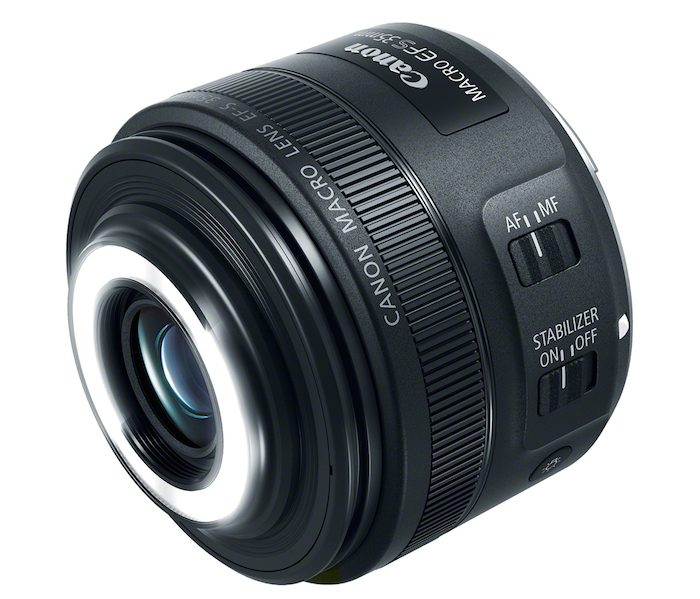
B&H has the new Canon EF-S 35mm f/2.8 Macro IS STM lens in stock and now shipping. This is the new macro lens with a built-in macro LED ring light at the end of the lens barrel. It has a maximum 1:1 magnification with a 5.1″ minimum focus distance. Check it out here at B&H Photo.
Deal: Bolt VM-160 LED Macro Ring Light for $59
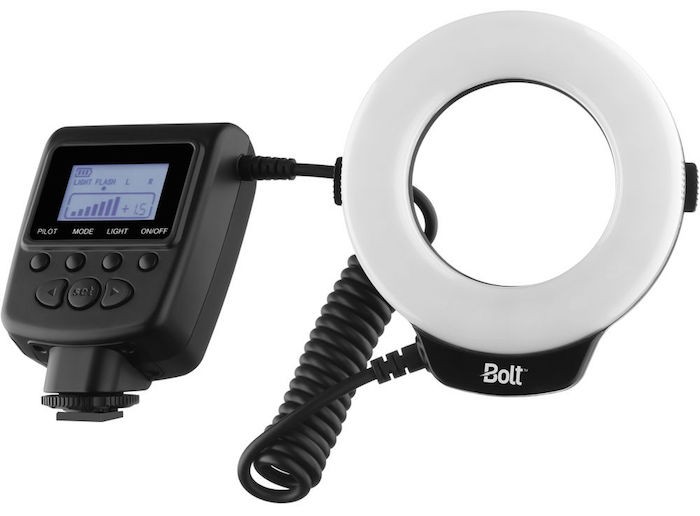
B&H has the Bolt VM-160 LED Macro Ring Light for $59 (reg. $109) as its Deal Zone deal for today only.
Bolt VM-160 LED Macro Ring Light Key Features
- Guide Number: 69′ / 21m at ISO 100
- Eighteen High-Output LEDs
- Six Levels of Brightness Adjustment
- Continuous Light & Flash Modes
- Left & Right Only Illumination Modes
- 1.6″ Backlit LCD Display
- Clear, Frosted, Blue, & Amber Diffusers
- Eight Adapter Rings from 49-77mm
- Stand/Tripod Mount Included
- Runs on 4 AA Batteries
Check it out while it lasts here at B&H Photo.
Ray Flash 2 Ring Light Offers Universal Speedlight Fit
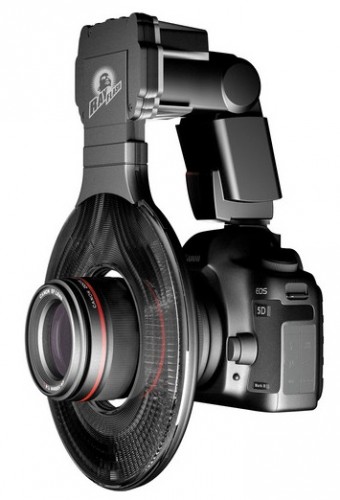
ExpoImaging has released the Ray Flash 2 ring light for speedlights. The Ray Flash 2 offers a more compact design and comes in 2 sizes for taller and shorter DSLR bodies. The larger sized Ray Flash fits cameras like the Canon 60D, 7D 5D Mark III, Nikon D7000, D800, D4 and such, while the smaller Ray Flash 2 model fits Canon Rebel and Nikon D3200 sized cameras. There’s a more complete list on ExpoImaging’s website.
The new ring light adapter is made with a universal speedlight mount and features adjustable height. The center column of the Ray Flash 2 slides up and down to accommodate variations in camera and speedlight heights.
The Ray Flash 2 retails for $139.95 and is available here at B&H Photo.
Flashpoint 14” Fluorescent Dimmable Ring Light
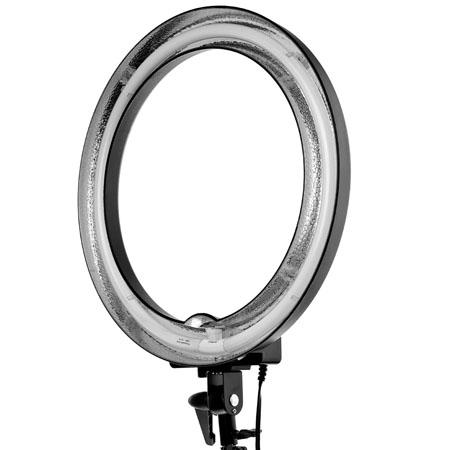
Adorama has announced a new Flashpoint 14″ dimmable ring light for $99.95. It features an 80-watt circular fluorescent bulb and is daylight balanced at a temperature of 5600K.
Thanks to the higher lumens-per-watt produced by fluorescent bulbs, the 80-watt ring light offers roughly the equivalent light output that you would get from a 320-watt tungsten fixture.
More details here at Adorama.
Ray Flash from ExpoImaging Gets Cheaper
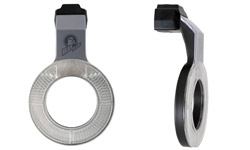
ExpoImaging recently dropped the price of its $300 Ray Flash to $200. It’s a pretty cool device if you haven’t seen it before (although I have yet to get my hands on one). Basically, it attaches to your on-camera flash and allows to you keep both hands on your camera and lens while you get the benefit of a lightweight ring flash. The Ray Flash is supposed to be pretty efficient with the light from your on-camera flash, so you don’t lose as much light as I do with my DIY Ring Flash.
David Hobby over at Strobist is pretty impressed with it, and so is Scott Kelby. Although, it’s gotten some mixed reviews among purchasers over at B&H Photo.
Check out the press release below for further details. [Read more…]
DIY Ringflash
The DIY Ringflash (as opposed to the $910 Bowens Ringflash) is really creating a stir on the internet nowadays. I’m officially on the band wagon now. I invested about $5.00 on a trip to Wal-Mart the other night for a disposable casserole pan, 1 yard of white fabric and a plastic measuring cup. After about an hour or so of tinkering around while my wife watched Flip That House, I had a pretty effective little ringflash. It was inspired by Tanya Shields’ cheap DIY ringflash that I read about on Strobist last week.
If you’ll click on the photos, you can see my notes that I placed on them via Flickr.
I can’t say that there’s really anything unique about my setup; however, here’s the details:
- (1) quart-sized utility cup
- (1) casserole disposable aluminum pan
- (1) small sheet of white fabric
- (1) roll of black tape
- (1) scrap of cardboard from an envelope from MyPhotopipe.com
Steps
- trace the bottom of the cup onto the pan
- cut a hole in the middle of the pan along your outline
- fit the cup in the hole an mark where to cut the bottom out
- cut the bottom of the cup out at your mark
- trace the end of your speedlight along the side of the pan
- cut along your traced outline
- wrap a piece of cardboard around the end of your speed light and secure it with tape (make sure you can get your flash in and out)
- insert your flash with cardboard into the cutout on the side of the pan
- secure the cardboard in the pan with tape
- spray paint the exterior of the cup with flat white paint (this helps bounce the light around)
- secure the cup (now a tube) into the pan with tape
- mark the fabric on the lip of the cup
- cut a hole in the fabric just smaller than the size of the cup’s opening
- secure the fabric on the inside of the cup’s opening with tape
- trim the fabric along the exterior of the pan (I also cut into the overlapped portions to keep it from bunching up when I tried to lay it down)
- lay fabric down along the edges and secure with tape
- insert your gear and go take some test shots
If you’re into this kind of stuff, consider these other DIY rightlight resources:
